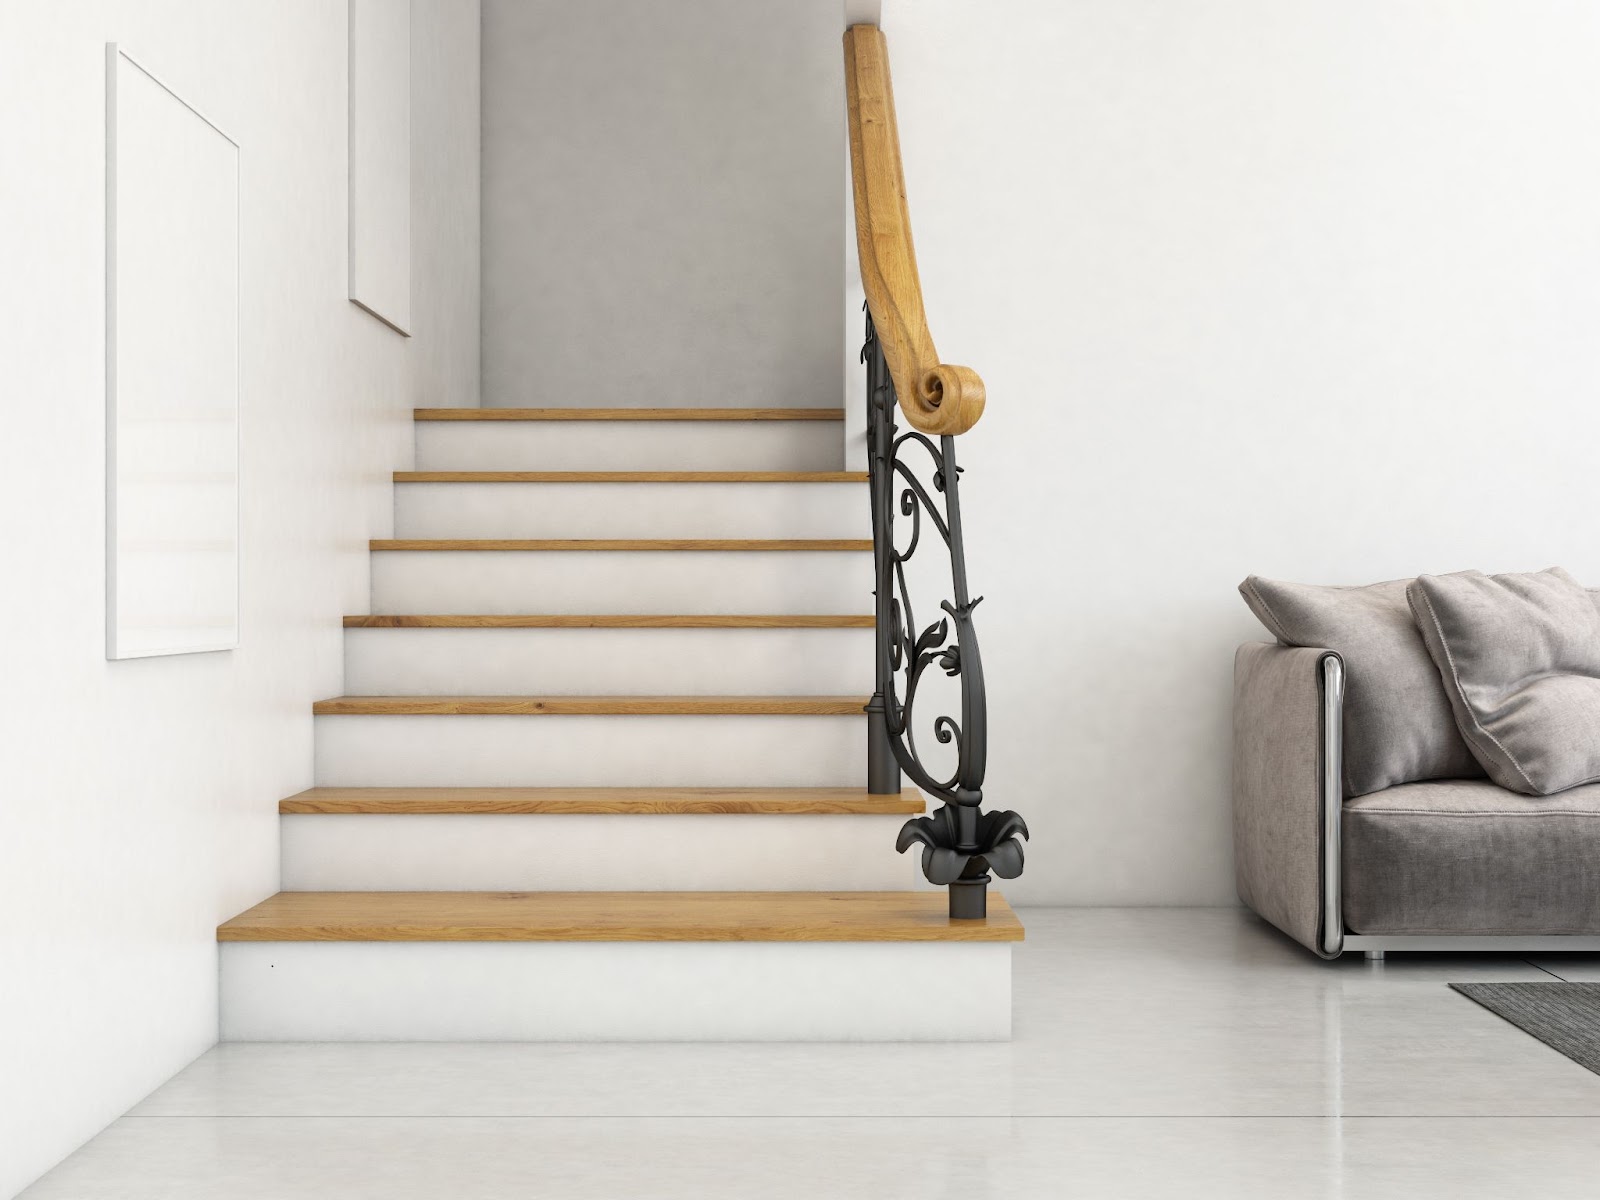
Stairs are not just a functional element in your home; they are a prominent architectural feature that can dramatically impact the overall aesthetic and ambiance of your living space. Whether you’re aiming to enhance the visual appeal of your home or simply looking to improve safety and functionality, the decision to redo your stairs is a transformative one. In this comprehensive guide, we will delve into the art and science of stair renovation, exploring a myriad of design possibilities, materials, and construction techniques that will breathe new life into this essential element of your home.
So, get ready to embark on a journey of stairway transformation, where we will unravel the secrets to creating a stunning and functional focal point in your home. Whether you’re a seasoned DIY enthusiast or just starting to explore the world of home improvement, our guide to redoing stairs will inspire and inform you every step of the way.
Tip #1 – Protect Your Work Sanctuary: The Art of Sealing
When embarking on any home renovation project, sealing off your work area is like creating a protective fortress for your masterpiece. Here’s why it’s crucial:
- Preventing Contaminants: Imagine the frustration of finding a stray hair, speck of dust, or lint stuck in your freshly painted or stained stairwell. These seemingly harmless intruders can quickly turn your project into a nightmare, necessitating resanding and redoing. To avoid this, use the following sealing strategies;
- Barrier Methods: Lay down plastic sheets or drop cloths to create a physical barrier between the work area and the rest of your home;
- Entry Restrictions: Ensure that only essential personnel enter the work zone; keep curious pets and non-essential individuals at bay;
- Patience Pays Off: Certain paints and stains require extended drying and curing times. The longer these substances remain exposed, the greater the chance of unwanted particles settling in. So, be patient, maintain a strict seal, and let your masterpiece flourish in peace.
Tip #2 – The Great Dust Dilemma: Contain and Control
As you begin the process of pulling up your old carpet, you’re likely to unleash a cloud of dust and dirt. However, you can minimize this chaos with these two effective strategies:
- Sealing: Once again, sealing proves invaluable. Seal off the immediate area where you’re working to prevent dust from infiltrating other parts of your home;
- Vacuum Power: Equip your vacuum cleaner with a HEPA filter and run it during the carpet removal process. This ensures that even the finest dust particles are captured and prevented from settling on your kitchen countertops, upholstery, drapes, or beds.
Tip #3 – Divide and Conquer: Carpet Removal Made Easy
To make the carpet removal process more manageable and less messy, consider these tactics:
- Sectional Approach: Instead of yanking the entire carpet at once, cut it into manageable sections. This not only eases handling but also minimizes the amount of dirt that becomes airborne;
- Immediate Disposal: After removing a section of carpet, take it outdoors promptly. Don’t stack them inside; dispose of them as you go. Similarly, remove the padding separately;
- Nail Purgatory: Before proceeding, ensure you’ve removed every single nail from the wood. Any leftover nails can hinder the refinishing process. Fill any holes with wood filler to ensure a smooth surface.
Tip #4 – Dust Off Those Shoes and Protect Your Work
Sanding is a crucial step in your stairwell transformation, but it can be messy. Keep these tips in mind:
- Shoe Covers or Paper Protection: Before anyone ventures up and down the stairs, make sure they wear shoe covers or cover the stairs with heavy construction-grade brown paper. This not only prevents dirt and grime from sticking but also safeguards the freshly sanded surface;
- A Clean Canvas: Remember that paint and stain adhere best to clean surfaces. Footprints or handprints on dusty steps can lead to a messy finish. Stay vigilant about maintaining a pristine work environment.
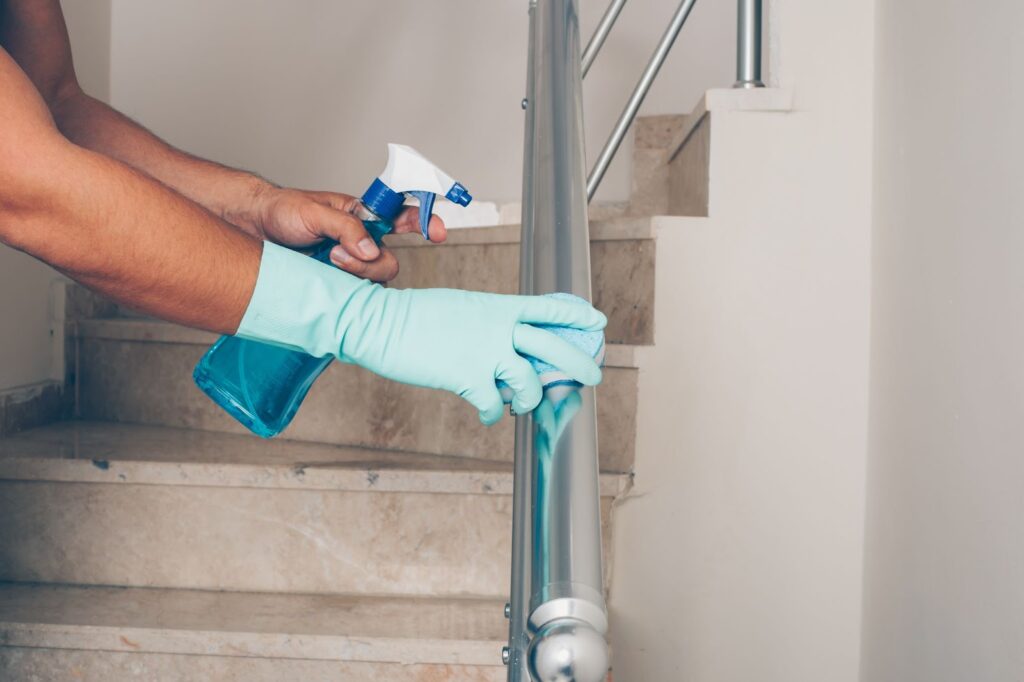
Tip #5 – Surgical Precision in Cleaning
As the sanding phase concludes, it’s time to prepare your stairs for their makeover. Adopt meticulous cleaning techniques:
- Vacuuming with HEPA: Keep that HEPA filter-equipped vacuum humming throughout the sanding process. Even if your hand sander has a dust bag, it may not catch the finest particles that can mar your finish;
- Wet Wipe Caution: While painted areas can be wiped down with a damp cloth, be cautious with raw wood. Wetting it excessively can cause the wood fibers to rise, requiring additional sanding. A vacuum’s precision is your best ally here.
Tip #6 – Mastering the Top Stair Finish
When it comes to staircase renovations, we often overlook the critical detail of finishing off the top stair carpet. Surprisingly, this crucial step is rarely covered in DIY blogs. Allow us to unveil the secret to this often-overlooked aspect.
- Creating a Template: The first step is to create a template for the finishing piece. Measure the width of the space where the carpet needs to be capped and note the cut-outs on the left side. Typically, the standard depth for this finishing piece is around 5 inches, but be sure to confirm it matches your other molding;
- Getting the Right Material: Head over to your local hardwood wholesaler to find the right piece for this job. Show them your template, and they can precisely cut the finishing piece to fit your specifications. This ensures a snug fit that looks seamless;
- Installation Made Easy: Once you have the molding piece, installation is a breeze. It should slot perfectly into place, giving your staircase a polished finish. The keys to success here are simple:
- Craft a precise template;
- Cut the carpet back AFTER you have the molding to use as a guide.
Tip #7 – The Art of Closing the Gap at the Bottom
In some cases, the carpet may roll over the last step and terminate at the floor. If you find yourself in this situation, here’s how to address it effectively.
- Finding the Right Molding: Start by searching for shoe molding that matches as closely as possible to the molding on the left and right sides of your stairs. If you can’t find an exact match, don’t worry – you can adjust it to fit;
- Sanding for Perfection: To achieve a seamless look, take the closest molding you can find and sand it down to match the existing molding as closely as possible. While it may not be 100% perfect, it’s unlikely to be noticeable unless someone is scrutinizing your staircase closely.
Tip #8 – Mastering the Painting Sequence
Choosing the right order for painting your staircase can make a world of difference. Let’s explore the smart sequence for a stress-free painting process.
- Risers and Surrounding Woodwork First: Start by painting the risers and the surrounding woodwork. This allows you to work comfortably with painter’s tape without worrying about damage to freshly painted surfaces. Be mindful of the dry/cure time for the woodwork paint;
- Wall, Woodwork, Risers: Proceed to paint the wall in its new color, followed by the woodwork and then the risers. This logical sequence removes uncertainty and ensures a smooth transition between surfaces;
- Consider Your Paint Type: If you’re using porch paint like our expert, always start with the risers first. Even with stain, many bloggers have chosen this sequence, but it’s essential to choose what aligns with your knowledge base.
Tip #9 – Crafting the Perfect Finish
Achieving a beautiful faux wood grain finish on your staircase is an art form. Here’s how to create an eye-catching effect.
- Choosing Your Paint: Opt for porch paint and prepare to mimic the look of real wood grain. Begin with a base coat in a mahogany color and allow it to dry for at least 24 hours;
- Adding Realistic Wood Grain: Apply a second light coat of mahogany to the same stairs and immediately work streaks of black into the wet base coat. Be swift in your actions because the paint sets up quickly, even though it takes longer to dry. Once it starts to set, avoid further manipulation and allow it to dry before applying additional layers.
Tip #10 – The Virtue of Patience
Your staircase masterpiece is nearly complete, but exercising patience is crucial for lasting results.
- Skip the Poly Coating: Our expert did not apply a poly coating over the stairs. Instead, they allowed the paint to fully cure before allowing anyone to walk on the steps without protective coverings;
- Daily Uncovering: To ensure your hard work remains intact, lift the protective coverings from one set of “every-other-ones” each day. If any resistance is felt, indicating the paint isn’t fully cured, continue covering those steps. This process should continue for about 8 weeks;
- Long-Term Results: After four months, you’ll be delighted to find that your staircase still looks as pristine as the day you completed the project. Patience truly pays off when it comes to achieving a durable and beautiful finish.
Conclusion
In conclusion, the process of redoing stairs is a transformative and rewarding endeavor that can greatly enhance the aesthetics, safety, and functionality of any home or space. Whether you are tackling a simple refresh or a complete overhaul, this project offers numerous benefits, from improving the overall look of your interior to ensuring the safety of those who use the stairs daily.
Throughout this article, we have explored the various aspects of stair redoing, from the initial planning stages to the selection of materials, and the implementation of design ideas. We have also highlighted the importance of meticulous craftsmanship and attention to detail, emphasizing the need for precision and safety in every step of the process.
Ultimately, redoing stairs is more than just a home improvement project; it’s an opportunity to infuse your living space with style, character, and functionality. Whether you opt for a contemporary, minimalist look or a timeless, classic design, the results will undoubtedly enhance the overall appeal and value of your home.