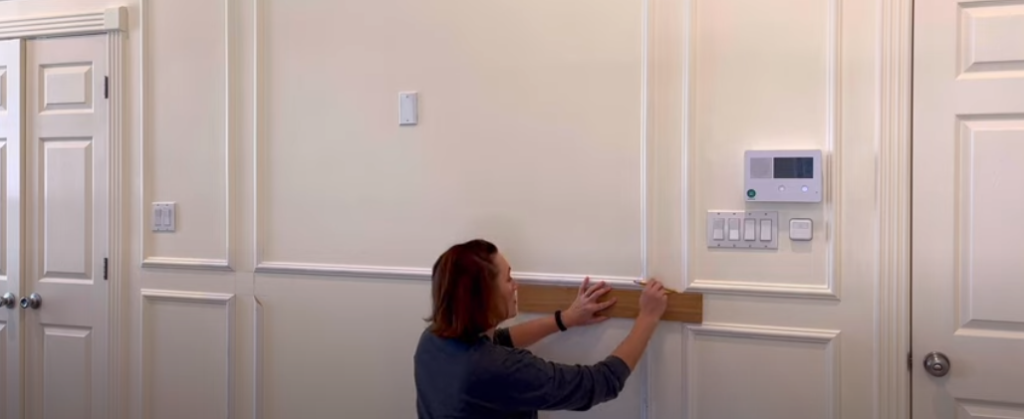
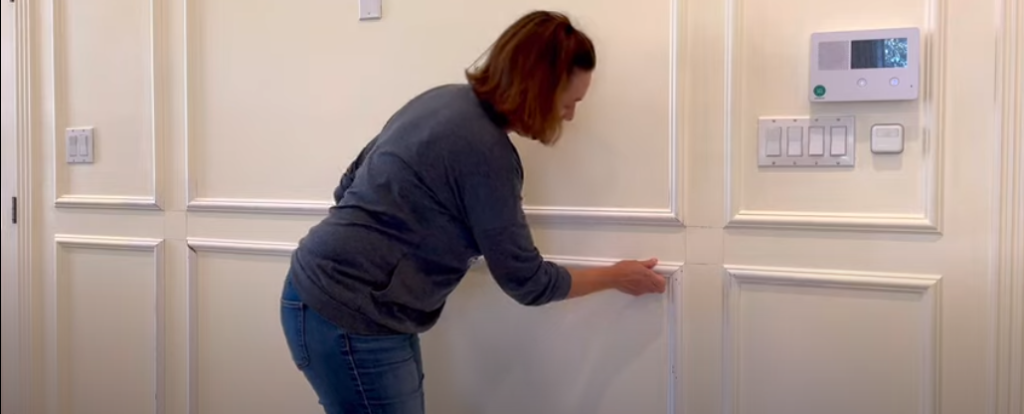
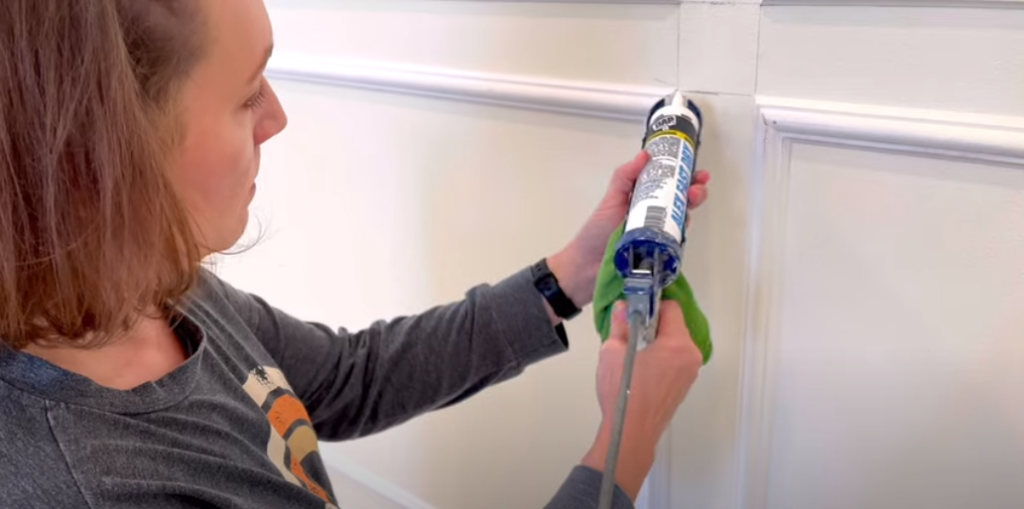
Decorative molding in the form of picture frames has become one of the primary options for interior decor, and its appeal remains unchanged. If you aim to add aesthetics to your walls, picture frame molding is an excellent choice.
In this article, we will explore the process of designing and installing picture frame molding, delving into the intricacies of cutting and installing molding.
Getting Started with Woodwork for Walls
Creating wooden wall structures should begin with a simple and accessible approach. You don’t need fancy tools or nails for this – just wood glue and basic tools. For instance, I started by crafting a basic structure from boards and laths in a kitchen corner.
Thin pine blanks were easily cut using a handsaw and a miter box, and all the molding was assembled and installed using wood glue alone. This means you don’t have to be an experienced carpenter to decorate your walls.
Venturing into Dining Room Territory
After initial success, confidence grew in tackling the dining room. However, before starting the kitchen project, experiments were conducted in cutting and installing picture frame molding on the lower wall of the dining room.
The results were satisfactory, but the anticipation of dealing with thicker upper molding in the dining room, as well as plans to expand the space into multiple rooms, led to the purchase of an electric miter saw.
Designing Picture Frame Molding
The first part of this series focused on the process of designing picture frame molding. It involved creating a wall grid and determining the optimal configuration for the molding.
Cutting and Installing Picture Frame Molding
Having familiarized yourself with the structural aspects, we move on to the steps of cutting and installing picture frame molding.
Step 1: Molding Cut Procedure
The initial stage involves measuring and cutting the wood. Only one mitered cut at a 45-degree angle is required.

Key points include:
- Measuring the length of each blank from corner to corner along the outer edge;
- Placing the flatter side of the molding on the inside of the frame. Consequently, each molding piece should be cut at a 45-degree angle at opposite ends. To ensure precise alignment at both ends, use a pencil to mark the angle direction. As skill grows, this step may become unnecessary.

- After making the angled cuts, carefully sand any rough edges or splinters, trying not to alter the length or the 45-degree angle.
Step 2: Installation Methods
When opting for the DIY approach, there are two main methods.
Option One: Frame Assembly Precedes Wall Attachment
This method involves creating the picture frame and then attaching it to the wall. It suits smaller frames positioned below chair rails but requires level and plumb walls, as the frame isn’t flexible enough to accommodate irregularities.

Assembly steps:
- Lay out the frame parts on a level surface;
- Apply construction adhesive to the four frame corners.

- Secure the frame by driving finishing nails into it;
- Allow the adhesive to dry completely;
- Attach the frame to the wall using finishing nails.

- Fill the frame with putty from both the inside and outside, then paint it to match the wall color.

- For larger frames or walls without plumb, alignment can be problematic.
Option Two: Frame Assembly Occurs on the Wall
With this method, the frame is constructed directly on the wall, offering greater flexibility when dealing with uneven surfaces. The procedure is as follows:
- Start by attaching the bottom horizontal piece to the wall, serving as the base for subsequent frame elements;
- Mark the center of the wall frame and the pre-cut molding piece with a pencil;
- Use a level to draw a horizontal line on the wall, ensuring the outer edge of the molding aligns with the line;
- If you’re working alone, drive large nails just below the line to support the molding and ensure it stays level;
- Attach the molding to the wall using brackets, centering and leveling it;
- Remove the supporting nails and patch any small holes with putty.
Repeat this process for each frame piece, ensuring precise alignment and levelness.
Achieving Cohesion in an Open Floor Plan
Maintaining visual unity is crucial for open floor plans where walls seamlessly connect spaces. It’s important to note that walls aren’t perfectly plumb or straight, making the planning stage essential. This involved meticulous work, including the use of painter’s tape and multiple adjustments to ensure the frame complements artwork and adjoining spaces.
Conclusion
Incorporating picture frame molding into wall decor is an accessible and enjoyable endeavor. Equipped with basic tools and a systematic approach, you can achieve fantastic results. Whether you assemble frames before mounting or install them directly on the wall, the primary focus should be on achieving evenness and proper alignment.
Picture frame molding transcends design trends; it is a timeless ornament that can transform living spaces into artistic showcases. A creative approach allows you to breathe new life into your walls using this elegant and versatile design element.
FAQ
Attaching picture frame moldings to walls is a straightforward process that requires some basic tools and careful execution. Below are steps for nailing picture frame moldings:
Tools and Materials Needed:
1. Pieces of picture frame molding;
2. Measuring tape;
3. Pencil;
4. Level;
5. Miter saw or miter box with a hand saw;
6. Finish nailer or hammer and finish nails;
7. Wood glue;
8. Putty;
9. Sandpaper;
10. Paint or finish of your choice.
Step-by-Step Guide:
1. Measure and cut pieces of picture frame molding to the desired length. Ensure that the corners are precisely cut at a 45-degree angle. The length of each piece should match the outer dimensions of the frame you’re creating.
2. Mark the wall: Use a pencil and level to mark the desired placement of the picture frame on the wall. Ensure that the marks are level and evenly spaced. For precision, you can use a laser level or a traditional bubble level.
3. Apply wood glue” Apply a thin, even layer of wood glue to the backside of each molding piece. This helps create a strong bond between the molding and the wall.
4. Install the molding: Carefully press the molding onto the wall, aligning it with the previously made marks. Press the molding firmly against the wall to ensure good contact with the glue.
5. Secure with nails: Depending on your preferences and available tools for attaching the molding to the wall, you can either use a finish nailer or a hammer and finish nails.
6. When using a finish nailer: Hold the molding in place and use the finish nailer to drive finish nails through the molding into the wall. Space the nails evenly along the length of the molding.
7. When using a hammer and finish nails: While holding the molding in place, carefully hammer the finish nails into the molding and the wall. Be cautious not to damage the molding with the hammer. 8. Space the nails evenly along the length of the molding.
Fill nail holes: After securing the molding, fill the nail holes with wood putty or filler. Allow the putty to dry, then sand it to create a seamless surface.
9. Fill joints: Apply putty to the joints where the molding meets the wall and any mitered corners. This helps create a clean and finished look while concealing minor gaps and imperfections.
10. Paint or finish: After the putty has dried, paint or finish the molding according to your desired color or decor. You can use a brush or a paint sprayer for a smooth finish.
11. Final touches: After the paint or finish has dried, inspect your work for any necessary touch-ups. Make any needed corrections to ensure the molding looks perfect.
Attaching picture frame molding to walls can be a rewarding DIY project that adds elegance to your home’s interior. With the right tools and attention to detail, you can achieve a professional result.
Repairing or securing the molding on a picture frame can help restore its appearance and stability. Below is a step-by-step guide on performing this operation:
Tools and Materials Needed:
1. Picture frame with damaged molding;
2. Wood glue;
3. Clamps;
4. Putty or wood filler;
5. Sandpaper;
6. Paint or finish (optional).
Step-by-Step Guide:
1. Inspect the damage: Carefully examine the picture frame to assess the extent of the molding damage. Identify all loose or broken parts.
2. Remove the picture: If the frame contains a picture or artwork, remove it to gain better access to the molding.
3. Clean the damaged area: Ensure that the damaged area is clean and free of dust and debris. This will help the glue adhere better.
4. Secure loose molding: If the molding has come loose but is not broken, you can reattach it using wood glue. Apply a generous amount of wood glue to the backside of the molding and press it firmly into place. Use clamps to hold the molding in the desired position while the glue dries. Be sure to protect the front of the frame with soft fabric or cardboard to avoid damaging it with the clamps.
5. Repair broken molding: If the molding is broken, it needs to be repaired before attaching it to the frame. Align the broken pieces to ensure a tight fit. Apply wood glue to both broken edges and press them together. Use clamps to hold the pieces in place until the glue dries. Again, protect the front of the frame with soft material. Allow the glue to fully dry, which may take several hours or as indicated on the glue label.
6. Fill gaps and defects: After the molding is securely attached or repaired, inspect the seams and joints for gaps and defects. Fill them with putty or wood filler to create a smooth and seamless surface. Allow the putty to dry according to the manufacturer’s instructions.
7. Sand and finish: After the putty or wood filler has dried, sand the repaired area with fine-grit sandpaper until it is smooth and level with the rest of the molding. If the frame’s finish was affected during the repair, you may need to touch up the paint or finish to match the frame’s original appearance.
8. Reassemble the frame: Once the repair is complete, and the finish has dried, reassemble the frame. Insert the photo or artwork and secure the back of the frame.
9. Carefully inspect the frame to ensure that the repaired molding looks cohesive and matches the original design.
Repairing molding on a picture frame can be a satisfying DIY project that preserves the frame’s aesthetic appeal and functionality. With proper care and attention to detail, you can restore the frame’s former beauty.
