Do any of you happen to possess some untreated wood or unfinished furniture craving a touch of care and attention? Well, today, we’re here to demonstrate a straightforward method for applying an all-natural, water-resistant seal. The cherry on top? It’s a one-step process.
Basement Renovation Breakdown
During our basement renovation, we found ourselves contemplating the destiny of this small area on the left. The question arose: should we install cabinets and create a dedicated kitchenette, or should we leave it open to adapt to the changing needs of our family? It dawned on us that it could serve as an office nook, storage space, mudroom, or even a TV wall for the gym— the possibilities seemed endless.
In the end, we made the decision to preserve its versatility, steering clear of limiting its functionality with built-in cabinets. Here’s a detailed breakdown of how this multi-purpose space came to life:
- Adding a Touch of Drama: To kick things off, we infused some excitement by hand-painting a captivating backdrop on the wall in just a couple of hours;
- Breathing New Life into an Old Cabinet: Next on the agenda was the transformation of a tired and worn-out cabinet, giving it a fresh lease on life.
(Note: Disclosure – The product used for this makeover was provided by Fusion Mineral Paint, but rest assured, the opinions shared here are entirely my own.)
One-Step Guide to Sealing Raw Wood or Unfinished Furniture
Preparation Process
Step One: Cleaning with Eco-Friendly Products
Begin by giving every inch of your item a thorough cleaning, both inside and out. Consider using an eco-friendly product like the TSP-type cleaner from Fusion Mineral Paint. This remarkable cleaner effectively removes dirt and grime without resorting to harsh chemicals, eliminating the need for rinsing. It’s a game-changer, right? You’ll only need to put in some elbow grease for those stubborn spots. (Apologies for not capturing a photo of this step, but you can find more information about TSP on the Fusion website linked at the end of this post.)
Step Two: Addressing Deep Stains and Imperfections
Here’s a confession: I had to employ a sander for particularly stubborn stains on this piece. Not only were these stains deep, but the wood also had some splits and splinters that needed extra attention. If you find yourself in a similar situation, give those areas a little extra tender loving care to smooth out any rough spots. After sanding, make sure to wipe away the dust with a sticky tack cloth or a slightly damp rag. Finally, allow the entire piece to thoroughly air dry before proceeding.
Sealing Process
Step Three: Applying the One-Step Secret Weapon
Once your piece has thoroughly dried, it’s time to introduce the magic of the one-step sealing process.
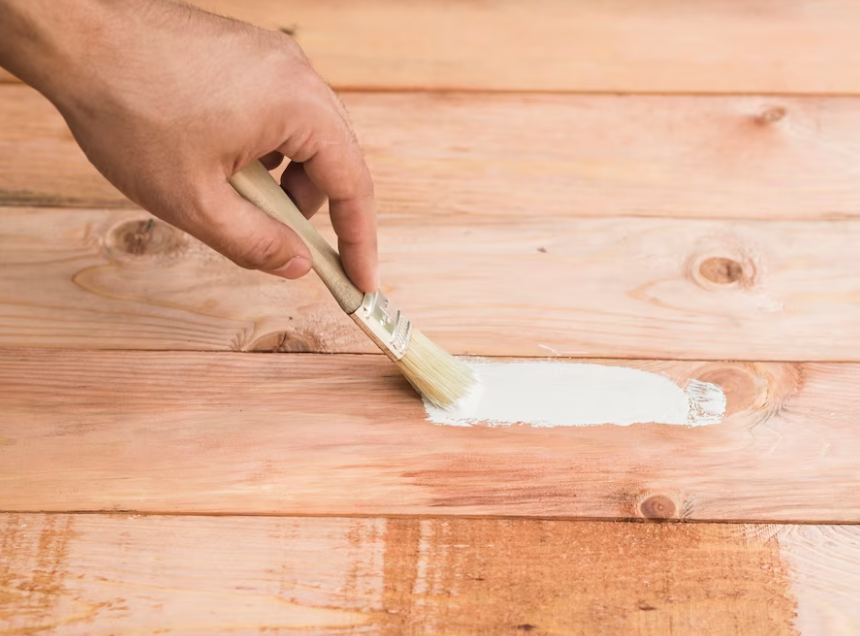
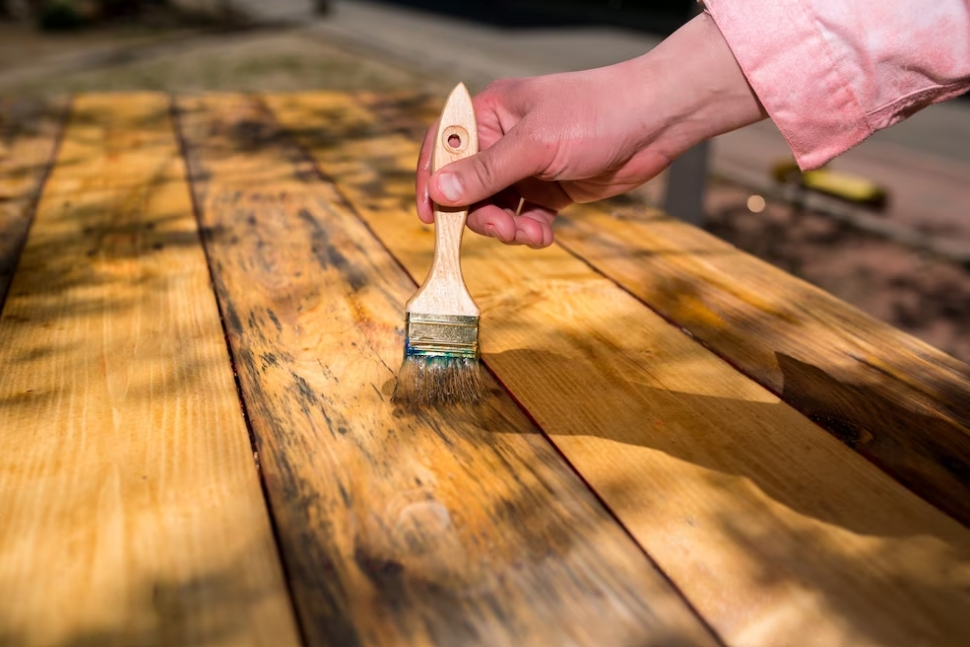
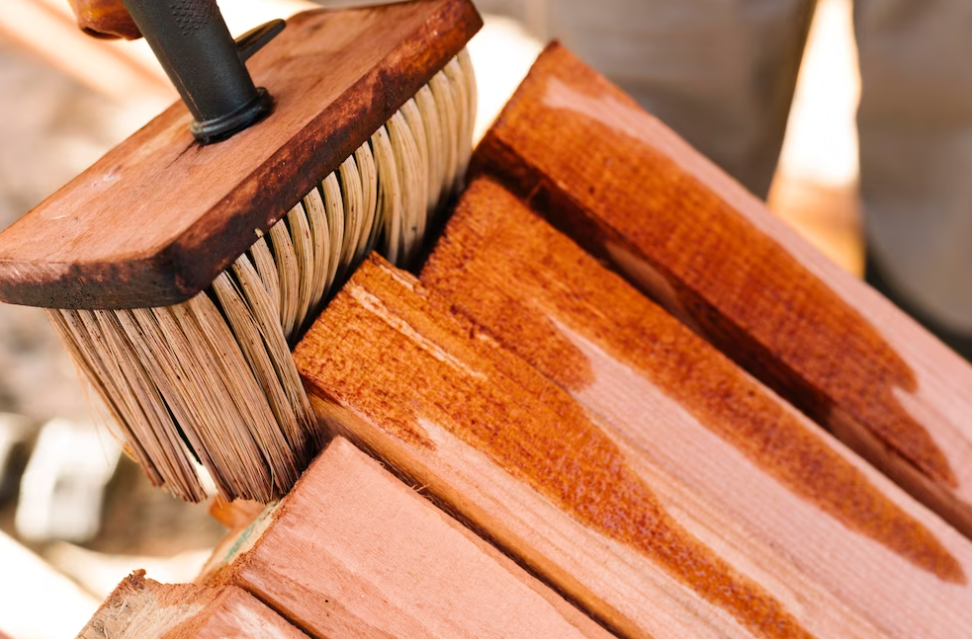
This remarkable, all-natural product can be generously applied to the wood, akin to frosting a cake. You have the option to use a paintbrush in some areas and a cloth in others. Notice the incredible transformation in the wood’s appearance with and without the application of this oil?
The key here is to apply enough product so that the wood can fully absorb the enriching oil it craves. If the hemp oil quickly absorbs into the wood, don’t hesitate to add another coat before the initial one dries. Just be mindful to prevent any oil from pooling in any particular area, and promptly wipe away any excess if it accumulates.
Curing Process
Step Four: Allow for Proper Curing
Now, it’s time to let your piece cure. In the initial hours, keep a close eye on it for any dry spots or pooling, but you may be surprised—like I was—to find that this piece can absorb the oil efficiently, leaving a very little excess to wipe away.
While it’s entirely possible to buff the cured finish for an added touch of luster, I chose to let the piece sit undisturbed until it was no longer tacky. This typically took about 72 hours. I kept the piece in the basement with the AC running and a dehumidifier working around the clock.
Conclusion
And that’s it! You’re done. By simply applying the oil, you’ve created a food-friendly, eco-friendly, and water-resistant seal that’s now ready for the guys and their man-cave feasts.
For the time being, this area will serve as a compact bar with a microwave in the lower section. A full-sized refrigerator is conveniently located to the right, inside the gym, making ice readily accessible.