Our programs
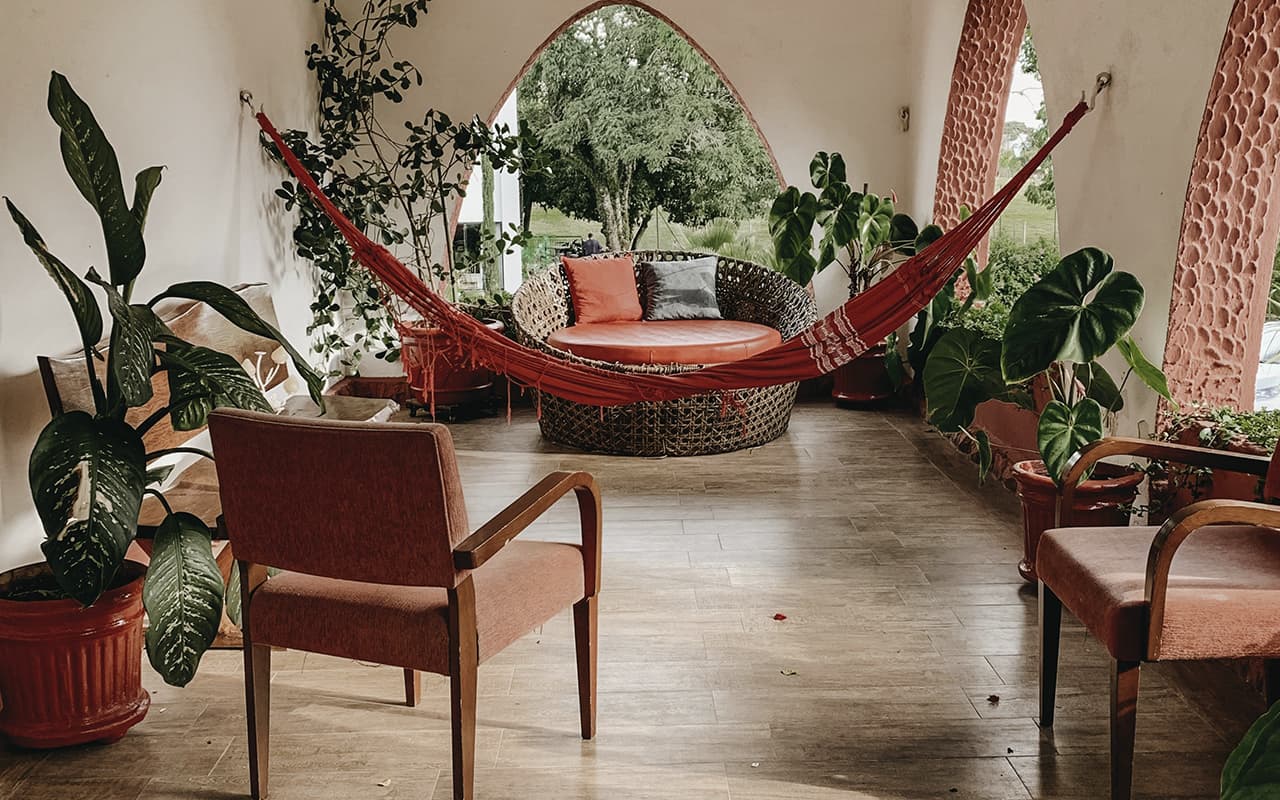
Home interior decor: the basics
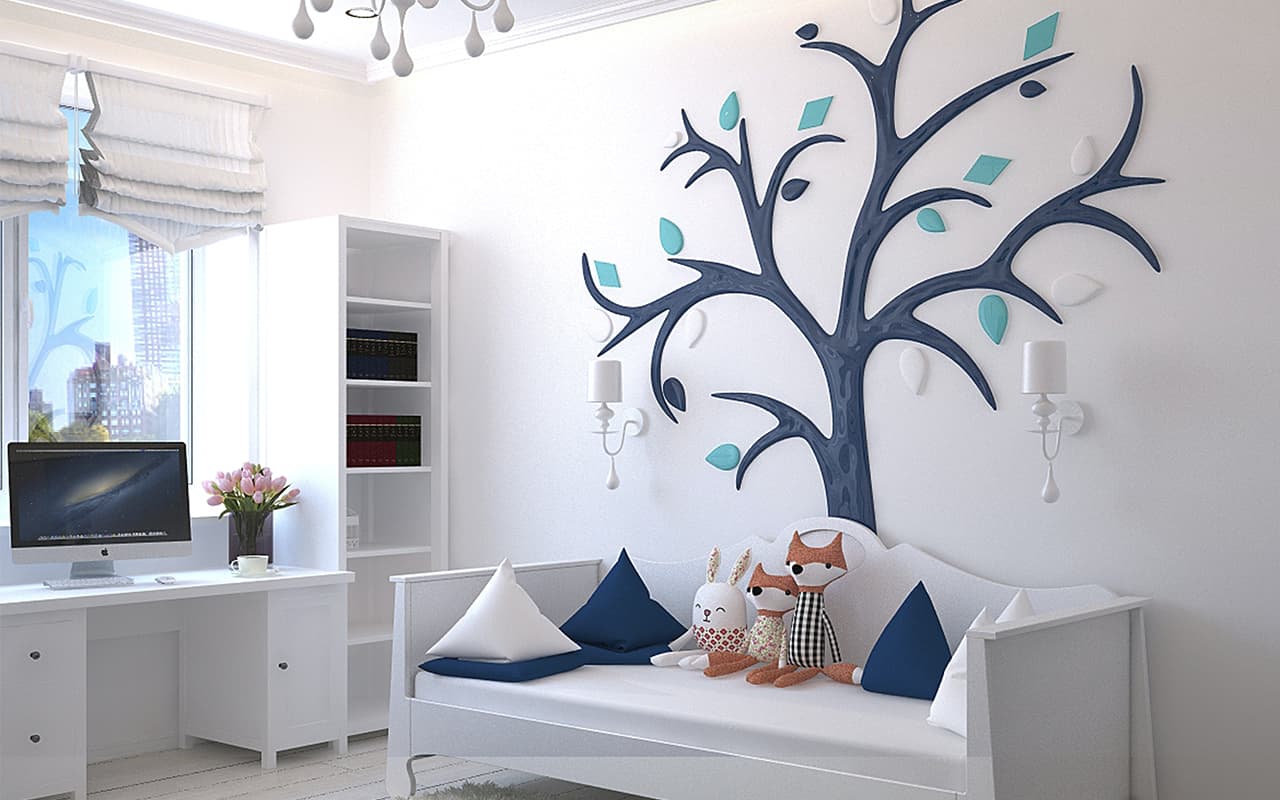
On the course you will learn the rules of decorating your home and apartment according to the most current trends.…Interior decoration for advanced
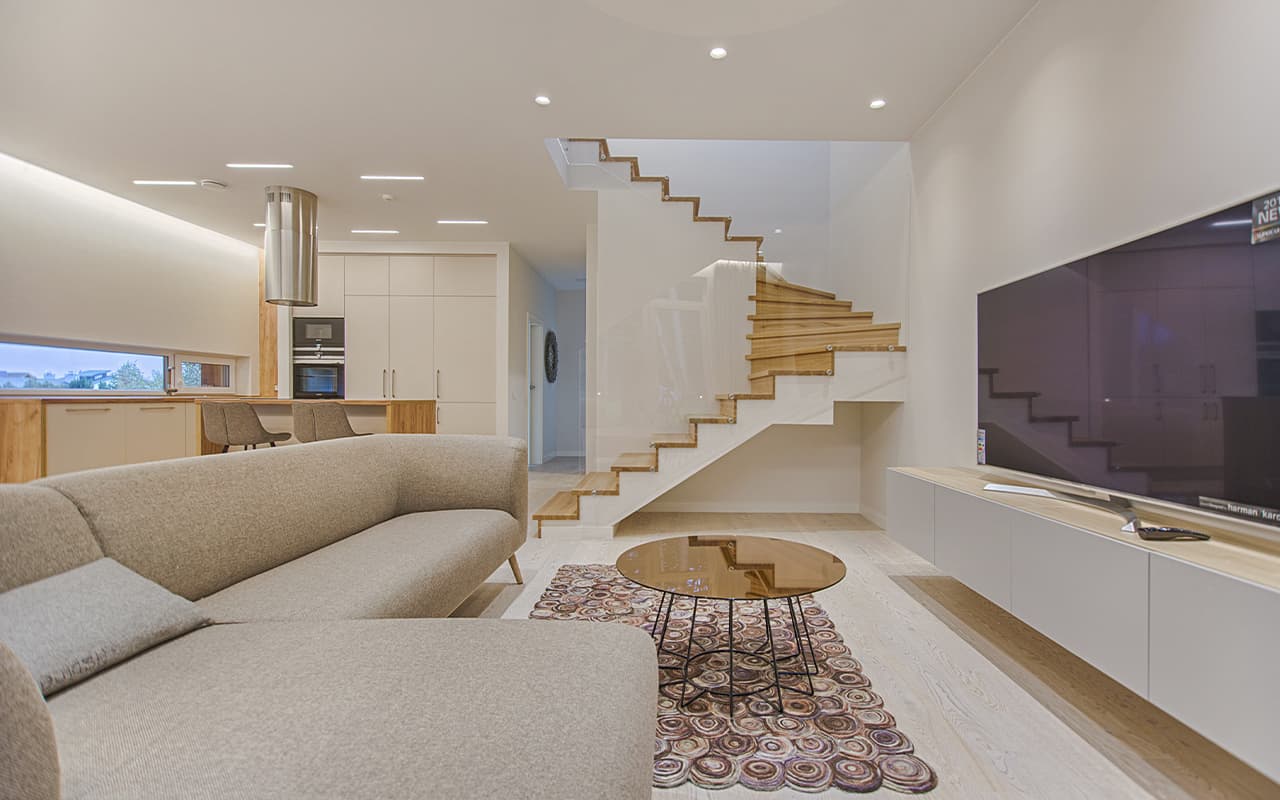
No room can do without interior decorating. We all strive to decorate our home. For this purpose we use modern…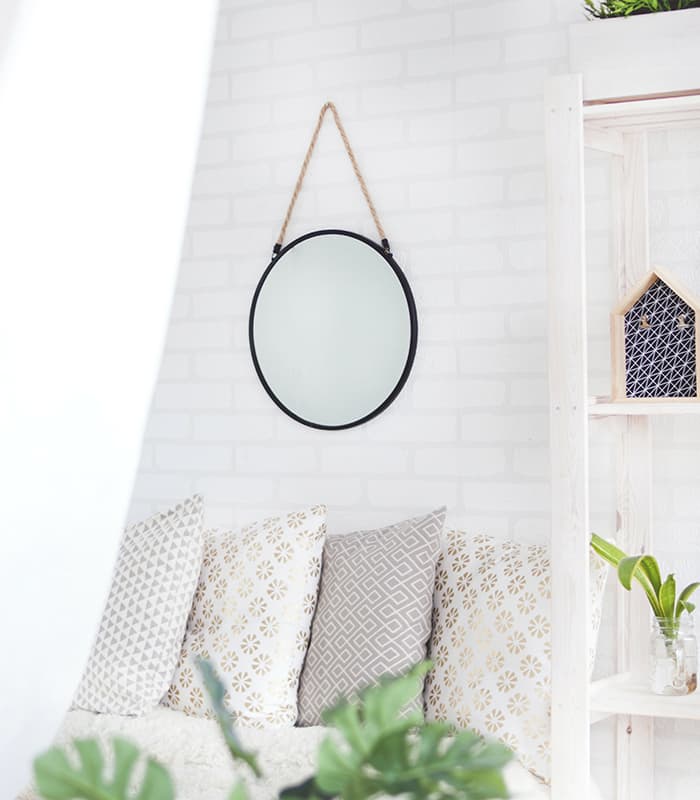
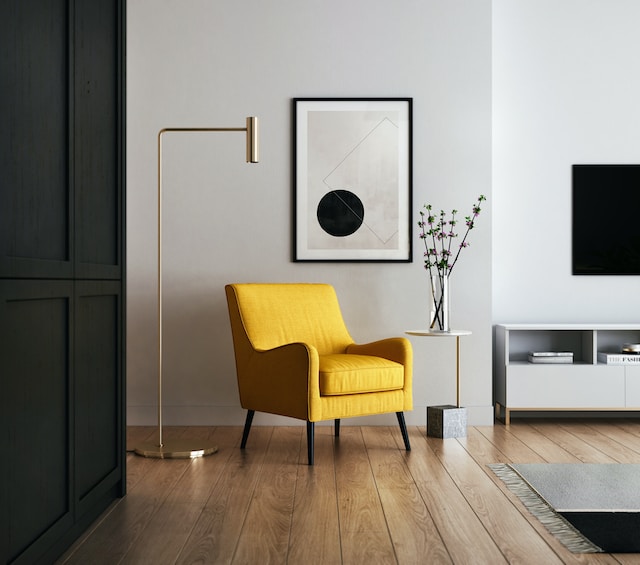
Wall decor
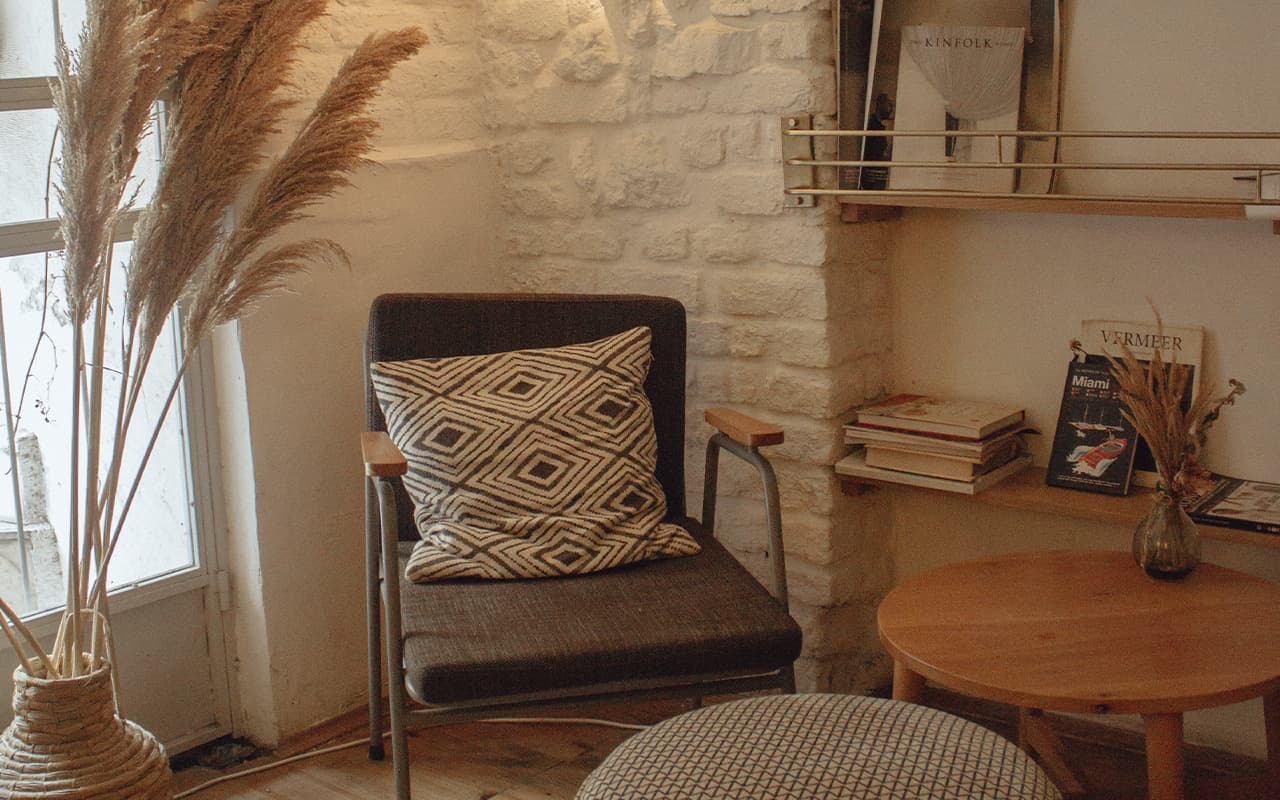
Interior decorating is one of the main ways to modify or create an original interior space in the spirit, style…Furniture and interior decoration
Involvement of a professional decorator is the most effective way to update the already established “settled” interior, in a situation…Brands That Trust Us.

Parameters of licensed slots in the popular casino GG bet
Distinctive features of the official machines at the popular ice casino bonuses

BSign Store offers navigation door number signs for office buildings, hotels and clinics!

Play with confidence at OnlineCasinoOsusume, featuring only licensed online casinos.

At most online casinos, you have the opportunity to try the Aviator games through a free demo mode, experiencing the features of the Aviator Game.

Want to try your luck, but not ready to risk large sums? Follow our link and choose an online casino with minimum deposit to start your way to big wins - deposito 1 euro casino.

Shop our collection of the best Roman shades and enhance your home decor with ease. Find the perfect style and order now for free shipping.

Empower your dog's training with our state-of-the-art e-collar for dogs. Designed for effective communication and control, it offers gentle yet firm correction to reinforce desired behaviors.
Meet our school

About Us
Welcome to the school of decorating!Our mission is to help our students develop their creative skills, become professionals in the…
students per year
unique training materials
partners and collaborations with professional designers
years of experience in the field of room décor
School leaders

Juana Smith

Margie Phillips

James Reyes
Our Blog

How to Decorate Your New Home Like a Professional
Adaptable Decor Ideas for Canadian Modular Homes
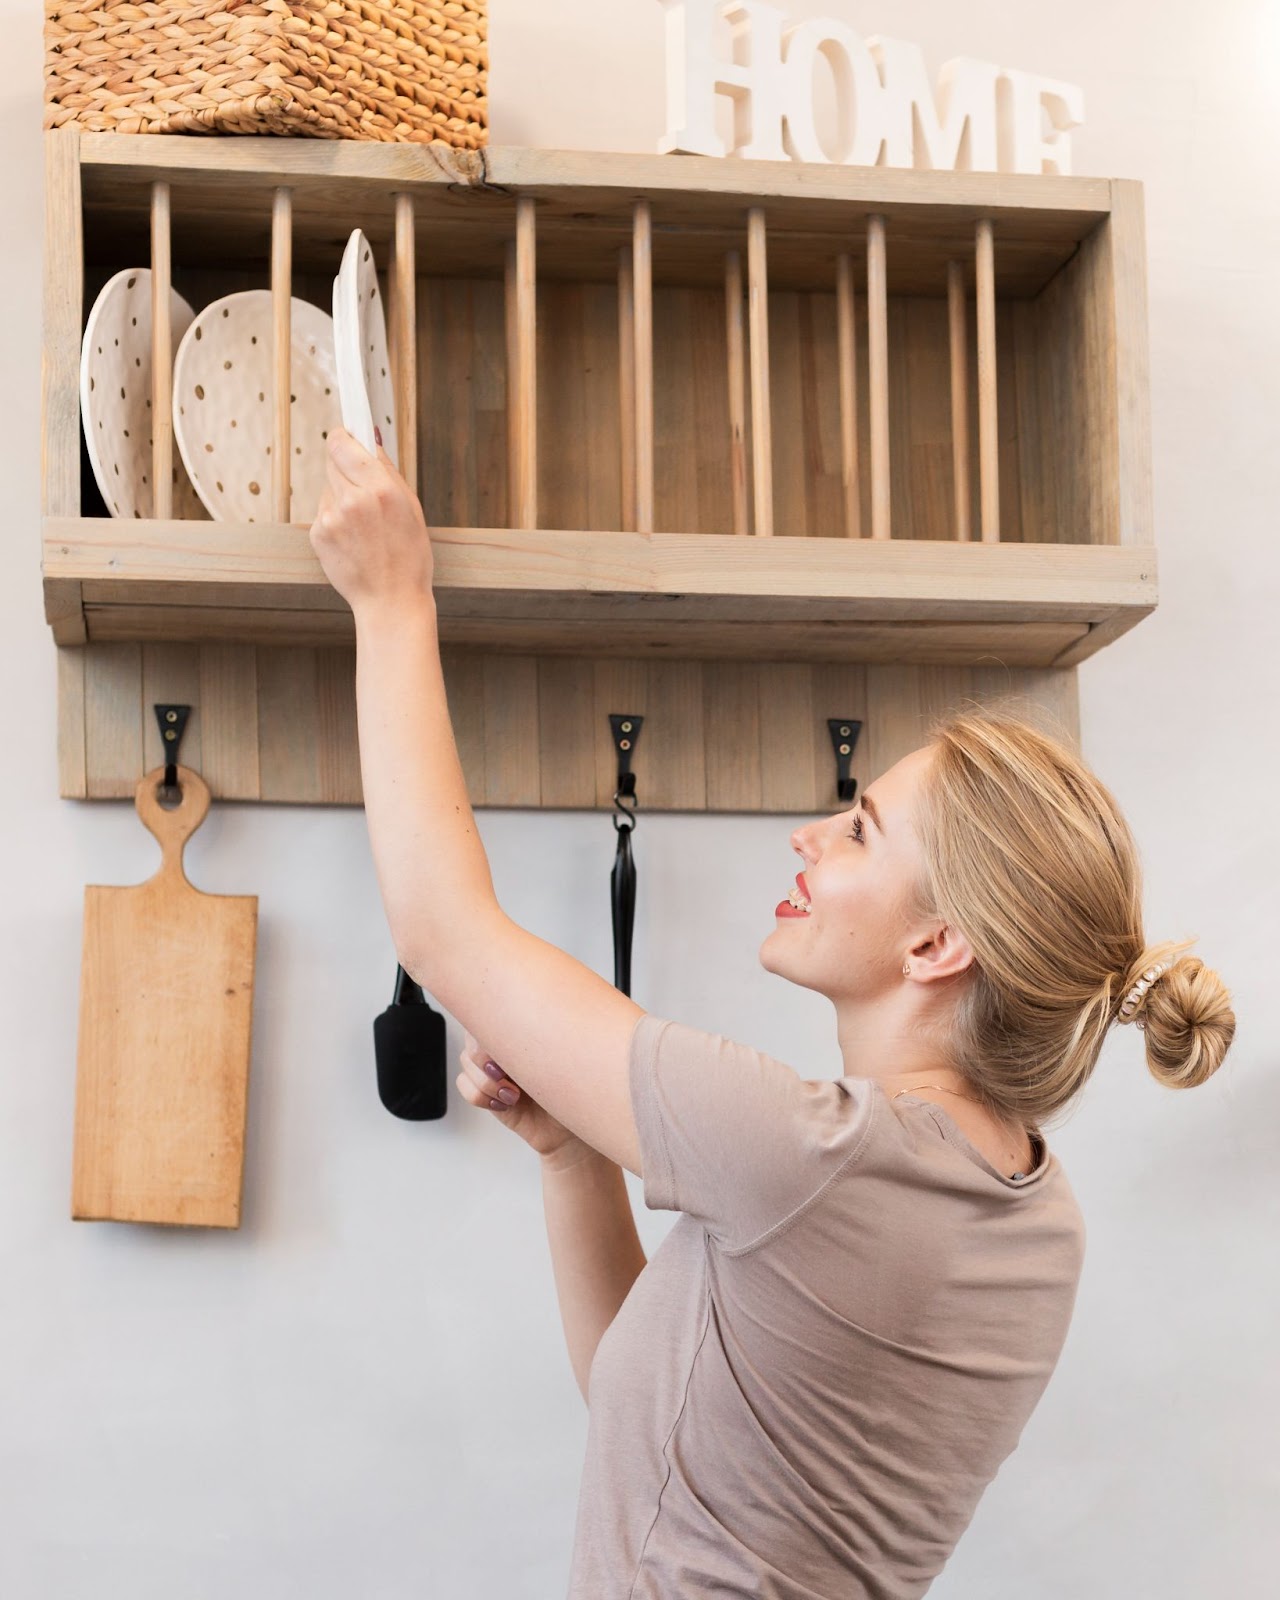
Craft Your Own Cabinet for Storing Plates: DIY Project
Elevate Your Artistry with Stunning Poppies Paint Pigments
Elevate Your Décor with Stikwood’s Peel-and-Stick Solution